
This is the pre-search I have for my 3D print toothbrush holder.
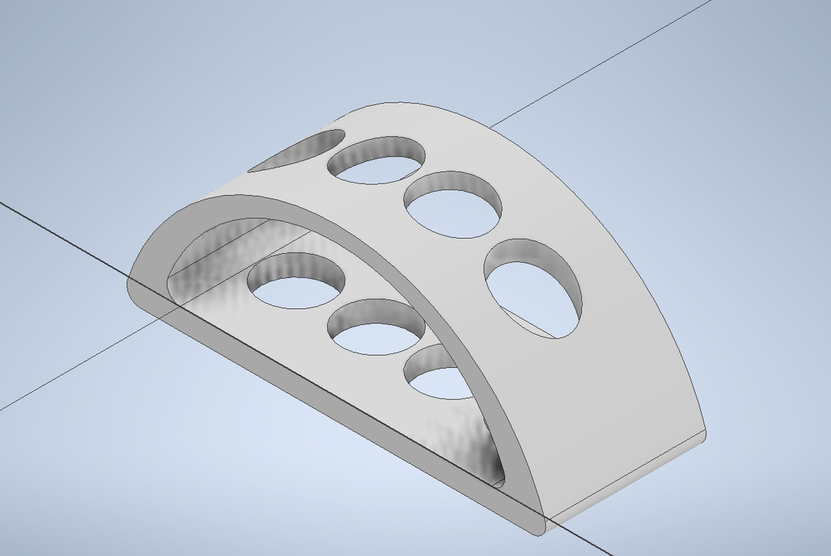
Here is my toothbrush holder after I designed it in Inventor. After this, it had to be sent to Makerbot so it could be prepped to print.


Here is my design in Makerbot. I had to scale up the size and make sure it was centered on the tray before I could print it. I also had to make sure it was laying in a way where it would be easiest to print with no supports. On the right is my print preview from right before I took my flash drive down to the printer.
|
|
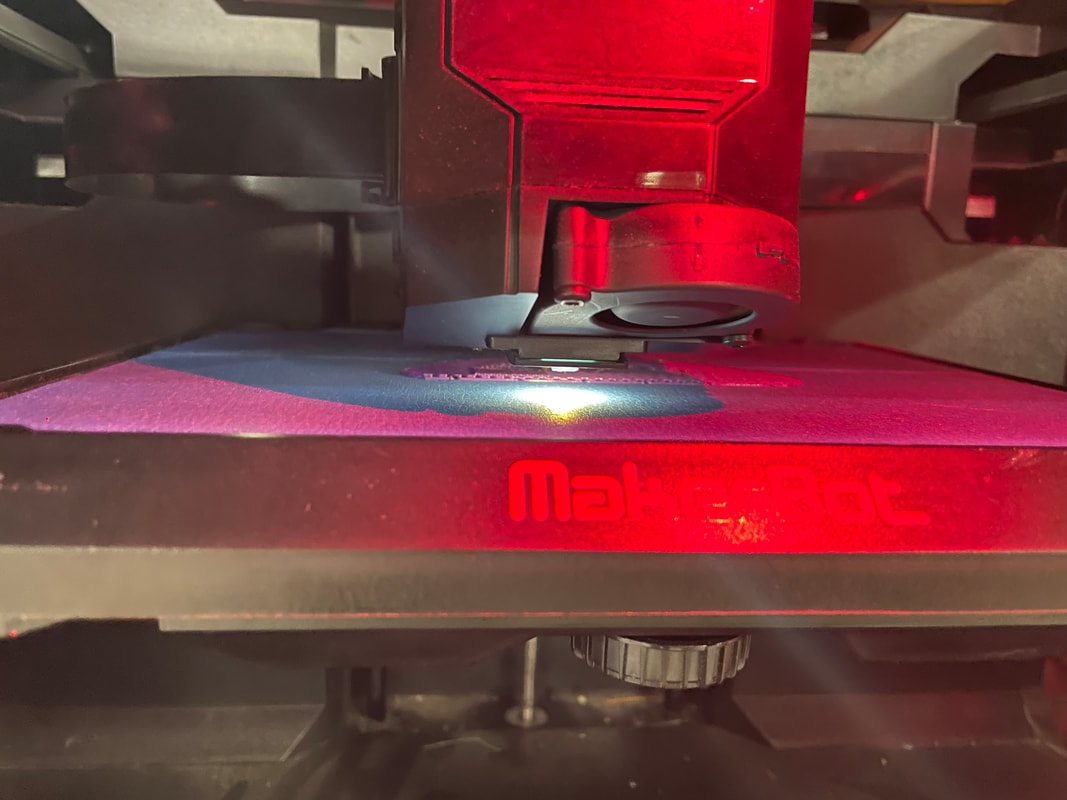
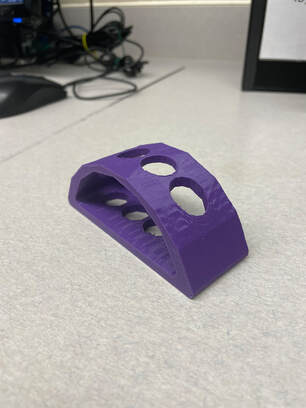
Here is my toothbrush holder while it was 3D printing and when it was finished.

Here is the final product in use!
WHAT I LEARNED
During this rotation, I learned that you have to be patient when coming up with an idea. I had to start over multiple times because I wasn't happy with the idea I came up with or how it was going so far. I just had to persevere and not give up on it, and eventually I came up with something I liked. It's really easy to get frustrated, but you can't let that get in the way because wasting time is not a good idea. I also learned some things about the actual shape of my toothbrush holder. I learned that you can't cut holes through a rounded edge easily using Inventor because you can't create a sketch on an arch. I also learned that when printing, circles build on themselves so they do not require supports. I really like the way my final project came out.
