Brake Bracket
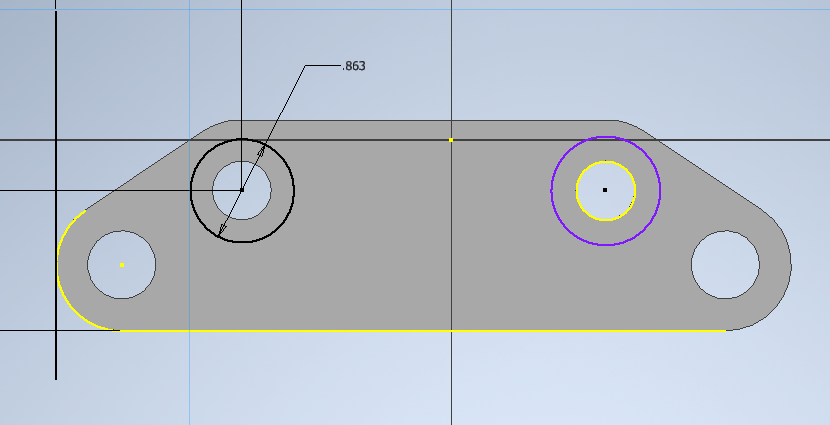
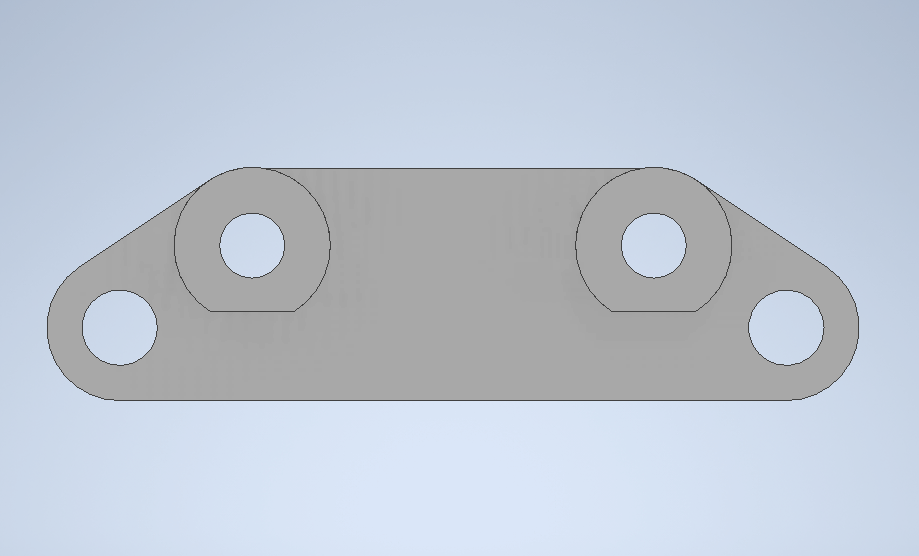
The first step in this process was making everything online. I started with Inventor to make the actual part. Once it was created, I loaded the brake bracket onto Fusion.
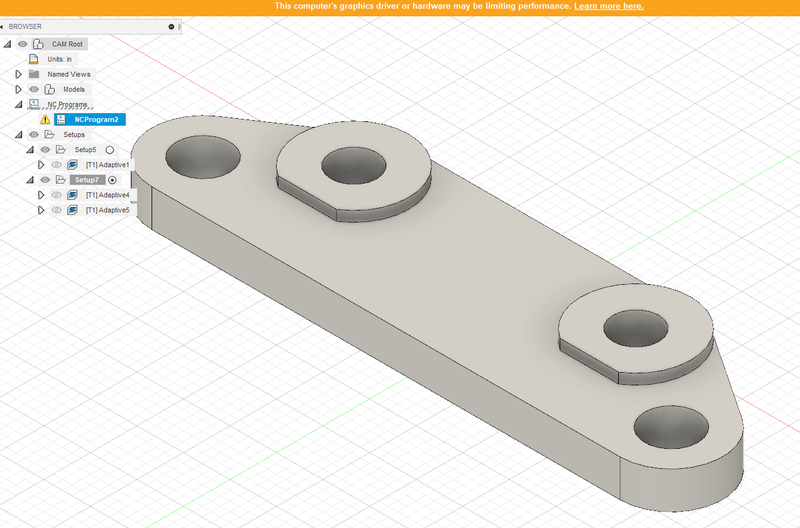
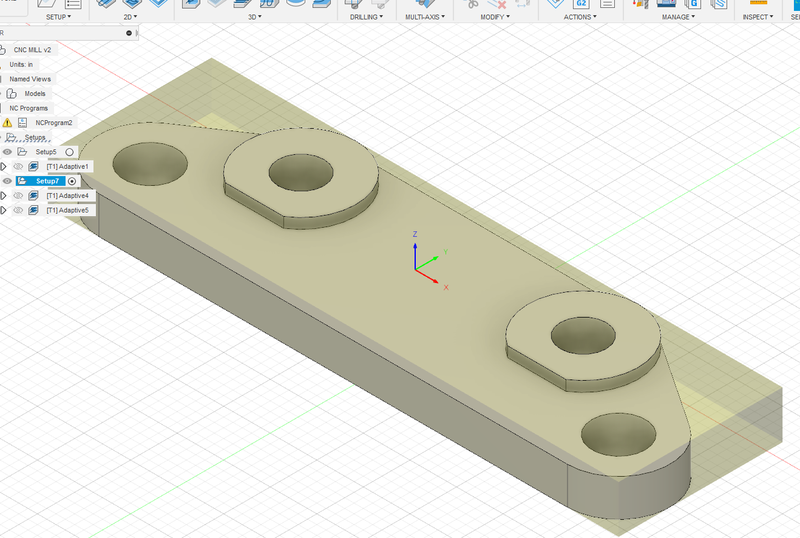
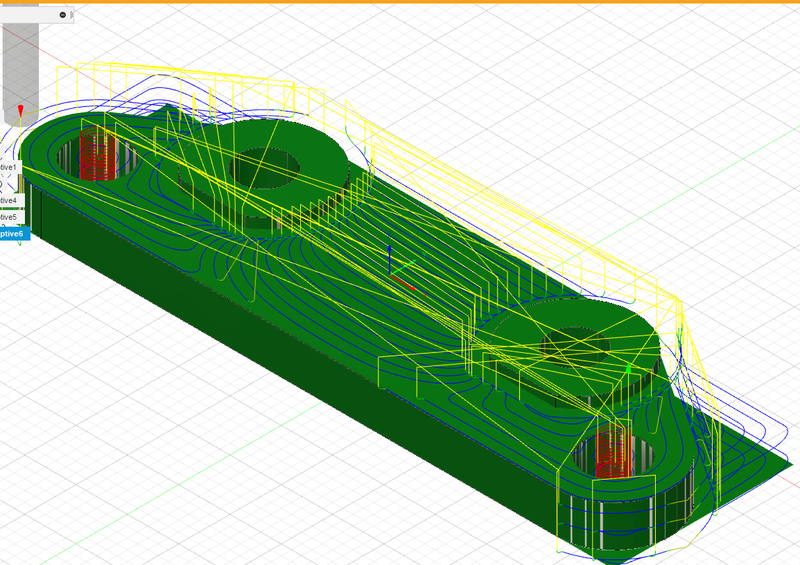
Once the part was in Fusion, it was time to get it ready to be cut out on the mill. I had to set up the stock and the tool path and run the simulation before I would be ready to send the brake bracket to the innovation center.
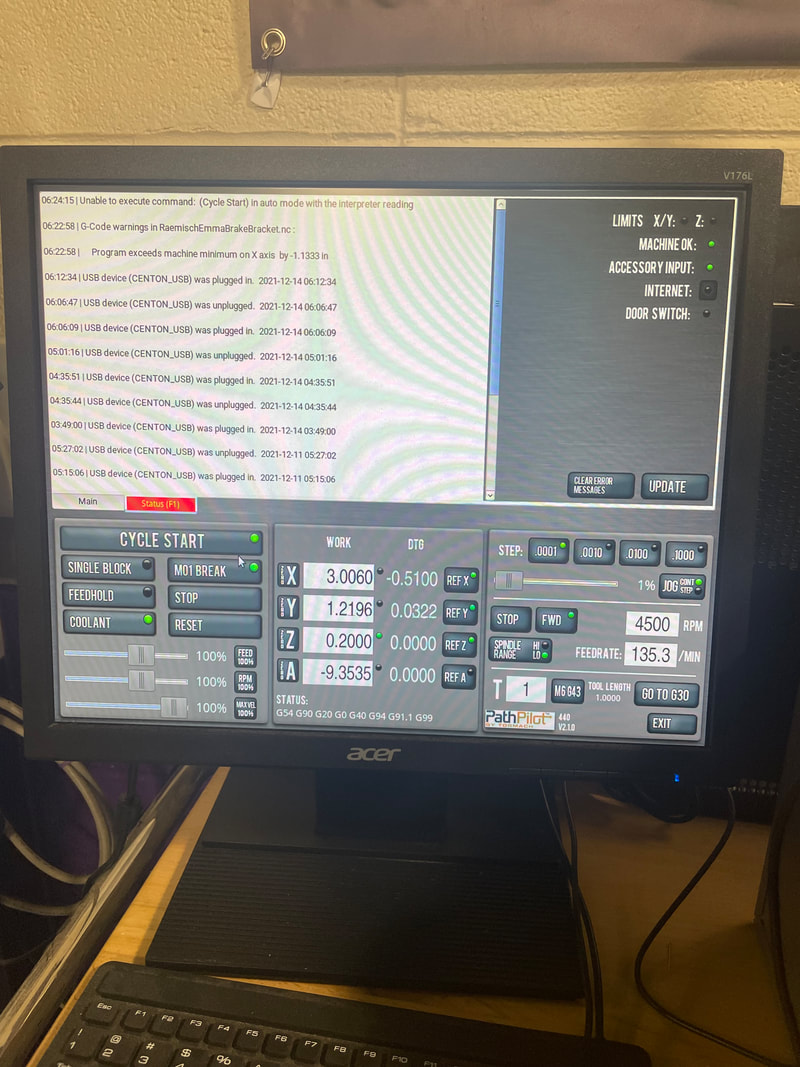
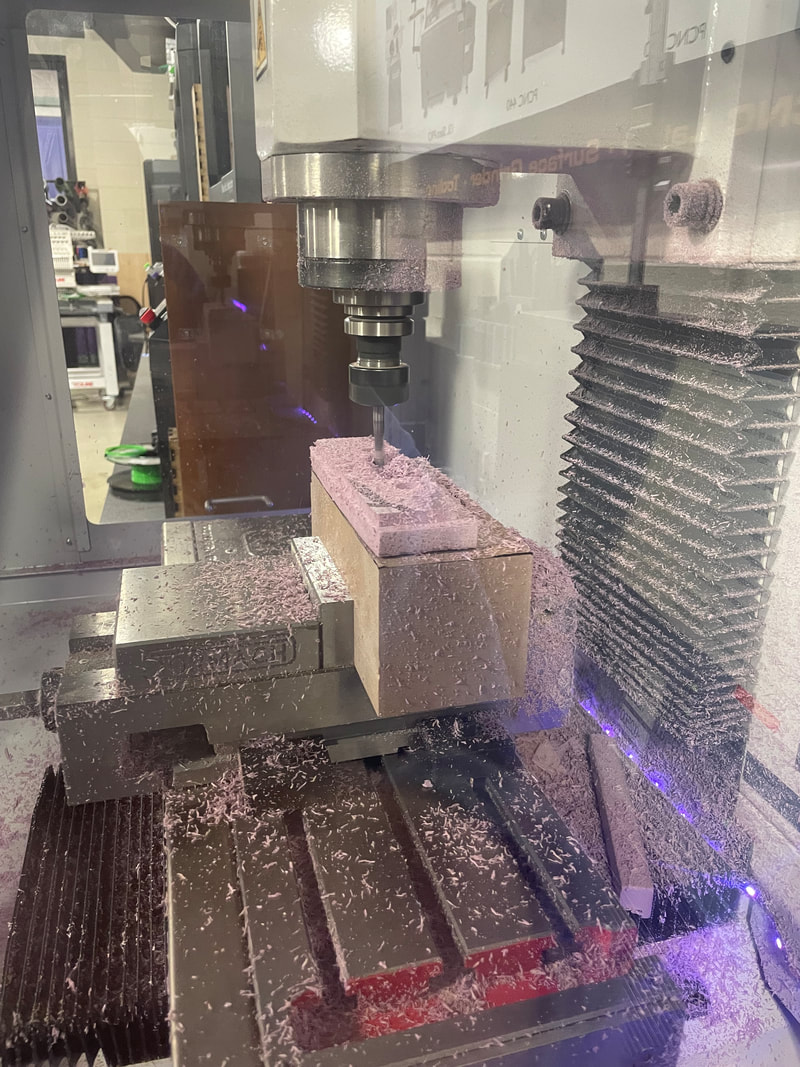
After loading my file onto my flash drive, I took it to down to the mill. I measured my piece of foam, and taped it onto the machine. After making sure all of the settings were right, I began the cutting process, and it was successful!
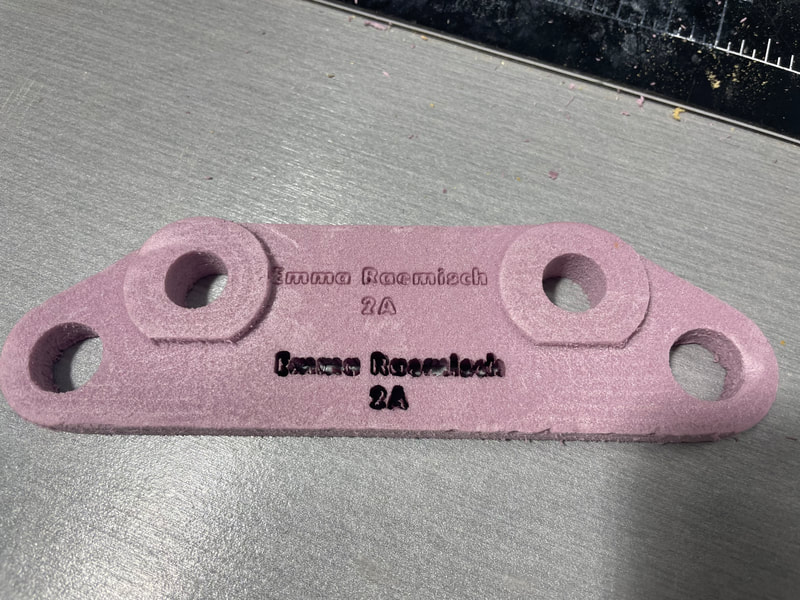
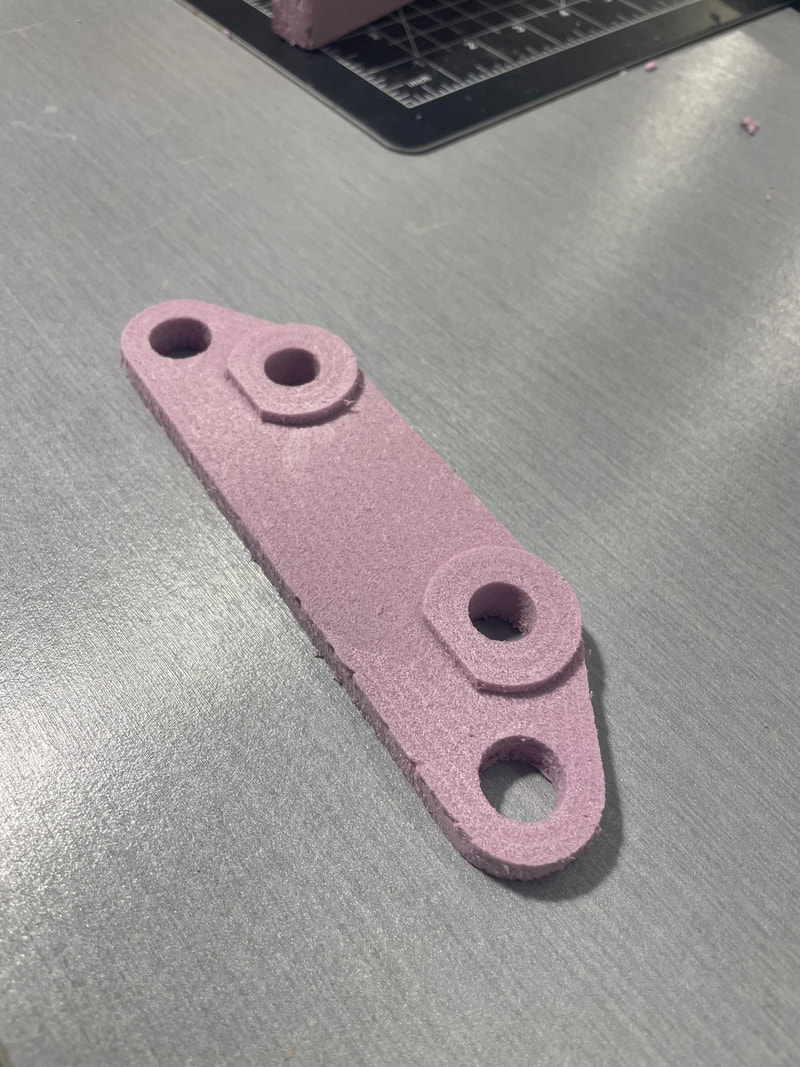
When my brake bracket was finished getting cut out, it was time to engrave my name and hour onto it using the laser. As you can see, I didn't have the settings right the first time so the laser cut all the way through, but after some help from Ms. Proctor, I was able to get it engraved correctly. Here is the final project!
WHAT I LEARNED
I worked with a lot of new things when creating this brake bracket. First of all, I learned how to use the Fusion software and how to prepare my part to be sent to the mill on a type of software I had never used before. Along with that, I also learned how to use the actual mill. There was no handout for this machine, so I figured it out with the help of some of the other people in my class. Although it was confusing at first, eventually I did get it figured out. It was really fun working with a new material for this project and it taught me a lot about things I had never been exposed to before.
